Bricklaying

Materials & Equipment
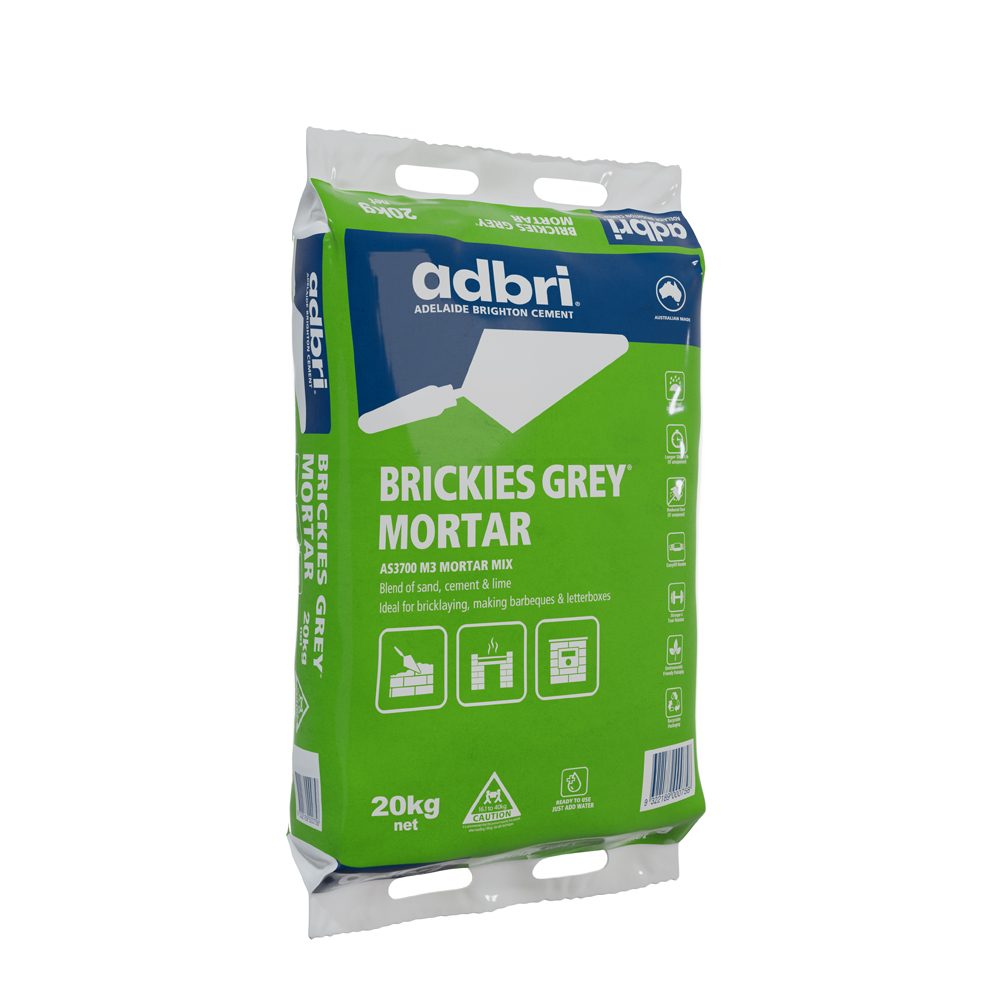
| • Adbri Cement Brickies Grey® Mortar | • Bricks | • Trowel |
| • Tape measure | • Clean water | • Spirit level |
| • Wheelbarrow | • Pencil or chalk | • Mortar board (flat board for mixing mortar) |
| • Medium bristled brush | • String | • Jointer (tool used for shaping mortar joints) |
| • Wooden stakes | • Hammer | • Brick bolster (chisel for cutting bricks) |
Safety
When working with Brickies Grey® Mortar wear protective clothing, strong boots, gloves, and eye protection.
Manual handling of bag products without due care and attention may result in personal injury. Unless you have been trained in manual handling methods it is suggested that you share the load with another person.
For more safety information refer to the Brickies Grey® Mortar safety data sheet.
Site Preparation
- It is vital to have a strong and level foundation before starting your bricklaying project. If you need to lay a foundation, refer to “DIY Concreting – How to lay a Concrete slab”.
- After choosing a bond pattern, lay out the bottom row/course of bricks leaving a 10 mm gap between each brick for the joints.
- Use the pencil or chalk and mark out where your bricks will go, ensuring that the wall is square and level with existing structures.
- To ensure the bricks are level and the wall will be straight, you will need to erect a string line along the face of the wall (this string line is moved up with each row of bricks that is laid).
Mixing Mortar
- Do not mix more mortar than can be used within one hour.
- Spillage or partially set material should not be re-tempered with water and must be discarded.
- One 20 kg bag of Brickies Grey® Mortar contains enough material to lay approximately 20-25 standard bricks with a 10 mm joint.
- Place the required quantity of powder in a clean wheelbarrow or onto a hard non-absorbent surface.
- Gradually add water while mixing thoroughly until a thick, creamy, workable mortar is obtained.
- A good way to determine whether the consistency of the mortar is correct is to place a ‘dob’ of mortar onto your trowel. Give it a soft tap so that the mortar flattens slightly and turn your trowel upside down. If the mix doesn’t slide or fall off the trowel, then it is suitable for use.
- Do not add too much water or your mix will be too runny, and the mortar will not have sufficient strength to bond your brickwork.
Laying the bricks
- Remove the first row of bricks you have placed to establish your lines.
- Place a line of Brickies Grey® Mortar along the base of your wall about 25 mm thick, one brick wide and two to three bricks long.
- Create a groove in the mortar with the point of the trowel using a stippling motion. Try not to scrape the trowel through the mortar.
- Place the first brick into the mortar. Ensuring that it is level with the string line, tap it into place with the handle of your trowel.
- Apply mortar to one end of the next brick, and place it into the mortar so that the end with the mortar is pushed into the previous brick leaving a 10mm gap.
- Tap this brick into place with the handle of your trowel, ensuring that the bricks are level using your spirit level and string line.
- Scrape off any excess Brickies Grey® Mortar that has been squeezed out of the joints with the trowel.
- Repeat these steps until your project is completed, ensuring all joints are the same with and the wall is level.
- When starting a new row, move the string line up to where the top of the bricks will sit. Ensure that the top of the bricks match up with this string line and the bottom of the bricks match up with the top of the lower level and your wall will remain straight.
Cutting the bricks
- Sometimes it may be necessary to cut bricks into various sizes.
- Mark a chalk line around the brick where it needs to be cut.
- Using your chisel or brick bolster, score the brick along this line by tapping the tool on the surface of the brick.
- Once the brick has been scored all the way around, a firm hit on the chisel should crack the brick along the scored line.
Finishing the joints
- There are several common styles of mortar joints such as flush, square, struck and round.
- Before the mortar dries run your jointer along the joints, filling all holes.
- Once completed, brush diagonally across the wall to remove excess mortar.
- Run the jointer along the joints again to give them a smooth finish.
